Showing posts with label Painting. Show all posts

Monday, 6 January 2014

Pocket Money Hobby - Part 2: Paints


Welcome to part two of Pocket Money Hobby. Rather than concentrating on a system this time round we’ll be looking at how to get yourself painting your models up for cheap. Rather than working with a £40 budget for this we’ll be looking at the cheapest way to get an effective range of paints.

We’ll begin by looking at the paints we need to paint up our Deadzone faction starter. Luckily Mantic games themselves offer us a few options.

On their web store Mantic have 4 paint sets for £15 that all come with a brush, 6 paints and a few models to practise on. The Mantic paint set is my top pic of the three if you’re going Enforcers or Rebs, with two brushes, 6 paints and 4 models to practise on you’ll be well on your way.
The Goblin paint set is great for Marauders as you might imagine, the Undead set will give a great finish to plague and enforcers, and the skeletons will be great for basing.

Of course Mantic aren’t your only option.

For those starting 40k Games Workshop’s 40k paint set is a solid start. With all the paints you need to do a great Dark Angels colour scheme and a brush to boot. To bolster your Space Marine force (or to practice on) you also get 5 tactical marines. This a great set if you’ve got the Dark Vengeance box or are starting Marine force. For £23.50 it’s a little steep but a great for Dark Angels player.

For Warmachine or Hordes P3 do some great sets of 6 paints for £12. There’s one for every faction and also a generic “colours of the Iron Kingdoms” which gives you a great set of base colours. Unfortunately these don’t come with a brush but for £2 you can get an Army Painter brush, that’s a great choice.  This paint set comes with every paint you’ll need for your faction and the P3 paints are some of the best quality paints around. 


A great generic option for all systems (so Malifaux, Batman, and any other system we may not mention and all those we have as well) is the Army painter War Paints Starter set. This set comes with 9 core colours and a quick shade to give your models great definition, and also a starter brush which is great for large areas and detail. Another solid generic choice especially for those more advanced painter is the Vallejo starter set. This comes with nine core paints, a pallet and a brush. It’ll need a little more patience and mixing but will give a great result.  Both these sets are £20 and I’d recommend the Army Painter set for the novice and the Vallejo for the more advanced painter.
Army Painter
Vallejo


Well those are our suggestions to get you going for £20 or less for each set (GW not withstanding). Of course for our monthly budget a couple of these will give you a very solid base to begin. Don't forget as well that you'll need to prime your models before painting. I recommend Army painter Matt Black for £7.50 a can as your best choice.

Next time we'll be taking a look at Warmachine/ Hordes for a pocket money budget.

Tuesday, 15 November 2011

Painting and Planning

So another busy week, full of hardcore death watching and painting, so I thought I'd let you all see what I've been up to this week before I start my "Doubles 2012" buildup tomorrow.

So a day in my FLGS and the manager and I are bored with many hours to go until the shop closes so we stumble on a challenge one single minature in the 5 hours until the storw closes. This was my effort after a mutual friend choose the model we'd paint. I will attempt to get a picture of Brendon's effort too.


Another single model, this time thats sat in my bitz box since his release but has found a new lease of life as I#m hoping to enter him in a painting competition run by my other FLGS (yes I go to two).


The first model for my ToS october list.... here we go again

Finally, the stat of my necron army. While not 40k i am painting sveral plastic darleks for my 11 year old sister who didn't realise her new toys were model kits.

So see you here tomorrow for the final doubles list of team "Drunk and Sexy".

Tuesday, 11 October 2011

"Many A Quaint And Curious Volume Of Forgotten Lore"

So 3 day, 10 Raven Guard, 3 shifts in work, and alot of drybrushing bases to go. Fortunately my army list is done and I'm very happy with it despite the few compromises I've had to make. So with no futher pomp, here it is.


Not a long one, need to paint.

Sunday, 9 October 2011

Quoth The Raven: 5 Days To Go

So 5 days until ToS and I'm still painting. I have the day off tomorrow but thats it for painting time before friday night when I hit Nottingham.


This pic shows where the Salamanders are at, for the moment they are on hold as I am so late.
 

Here are the Ravens, 25 still to paint, 3 objective markers and LOADS of edge highlights to do probably on Friday night,


One plus point of being late is I have a weird state of clarity where by I realised I hadn't made enough objective markers, rectified now, and also I had no way of showing when my squads enter the "red thrist" so using an idea I stole from a friend.


These are just bases with tranfers on but will serve as a marker and were cheap and easy in my panic


Also I'm still working on the army list, the typing is now all done and the skullt have been weather (many thanks to FatLad) tomorrow I'm printing off the adjusted full version on nicer paper ready to look fancy.

Well thats it, update soon with how the week ends, for now back to painting.

Tuesday, 4 October 2011

Avast!


So another busy day of readying Salamanders, with only a single dreadnought to finish.
However a break from what will be a week of updates on painting (well the small amount I can do after work each night.)


So today we're going to assess my latest purchase... Pirate style. Yar!!


 So me hearties, the box is a fine sturdy design perfect for holdling all ye booty, and tiny plastic ships into the bargain.


 The molding be crisp and detailed, with the finest parts bein' the isles and wrecks. Some of the finest my one eyes has ever seen har har!


 Unlike the other GW games and uncharted seas (yar I know workshop may have plundered some ideas there) the board for ye grand adventures be included and a fine piece of craft it is. storable and with a really nice finish to the mat.


 The cards are a little fiddly but no more so that thos eye be getting with Horus Heresy ( a revew of that will be coming soon!)


 The rules book is a vast tome of not just rules but fluff and artwork. The book seems pretty durable but shouldn't take too much damage in the mighty chest.

 Overall I give the product 9/10, I;ve only briefly seen it played and want to get mine painted up after GT before I play it my self so watch this space for piratey adventures.


 In other news I also continued the cover for my army list. Hopefully I'll get to the content tomorrow.

Right back to painting. Talk soon

Tuesday, 26 July 2011

Kayvaan Shrike Conversion Commission


Not much to say, here's what I did over the past few days. 


As an update I've done somework on the Ravens and have pulled out my pre-heresy Night Lords to do some wotk on too.

Monday, 25 July 2011

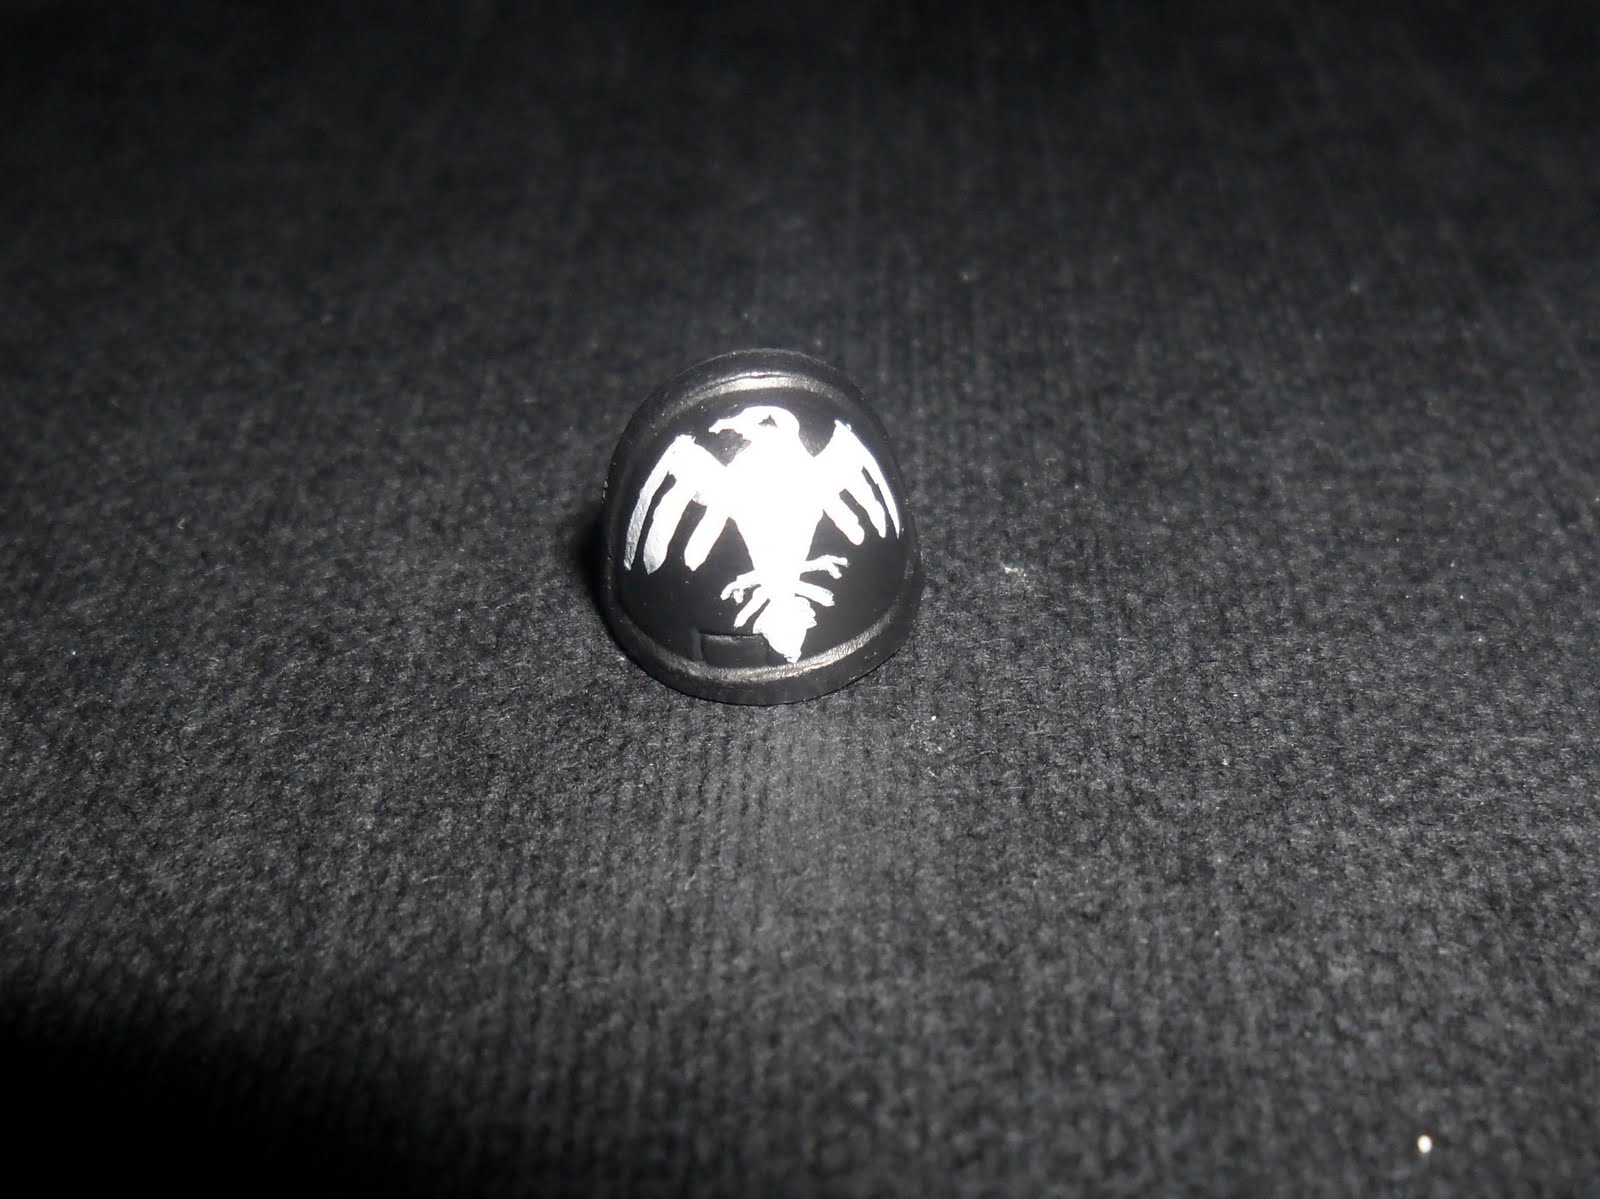
Raven Guard Chapter Symbol Tutorial.

A friend of mine has started Raven Guard, we have a new Raven Guard in our Deathwatch group so I felt inclined to come back to my own. I also figured to assist the friend of mine, who I'm also doing a commission version of "Shadow Captain Shrike", I'd post my free hand method of painting the Raven Guard chapter
symbol.


Ron over at FTW posted this a while ago, and I like it but I honestly (and humbly) believe mine to be closer to the offical pics of the symbol. 


So here's my attempt in 9 easy stages.

Stage 1: This is a space marine shoulder pad painted black.

Stage 2: Ok a little more complicated, 7 white dots, one two thrids up center, one either side, one about two thirds down center with one either side and finally one bottom center. (All in "Skull White")

Stage 3: Join the top 3 dots with a curved line.

Stage 4: Join the end of your new curve to the corner dots.

Stage 5a: A half mil apart draw two line down shown

Stage 5b: Repeat for the other side

Stage 6: Draw a "V" from the corner of the inner most wing sections to the lower dot

Stage 7; Draw a "V" down wards with two lines half a mil appart for the tail

Stage 8: Another "V" to make the tail a diamond, then fill in the tail and body. I also like to thicken the top win section to blend it into the body better.

 Stage 9: The head is tricky and will just take a little practifce to get the right shape. Sorry. A small triangle will look just fine though.
Hope its helpful.