Showing posts with label Tutorial. Show all posts

Monday, 25 July 2011

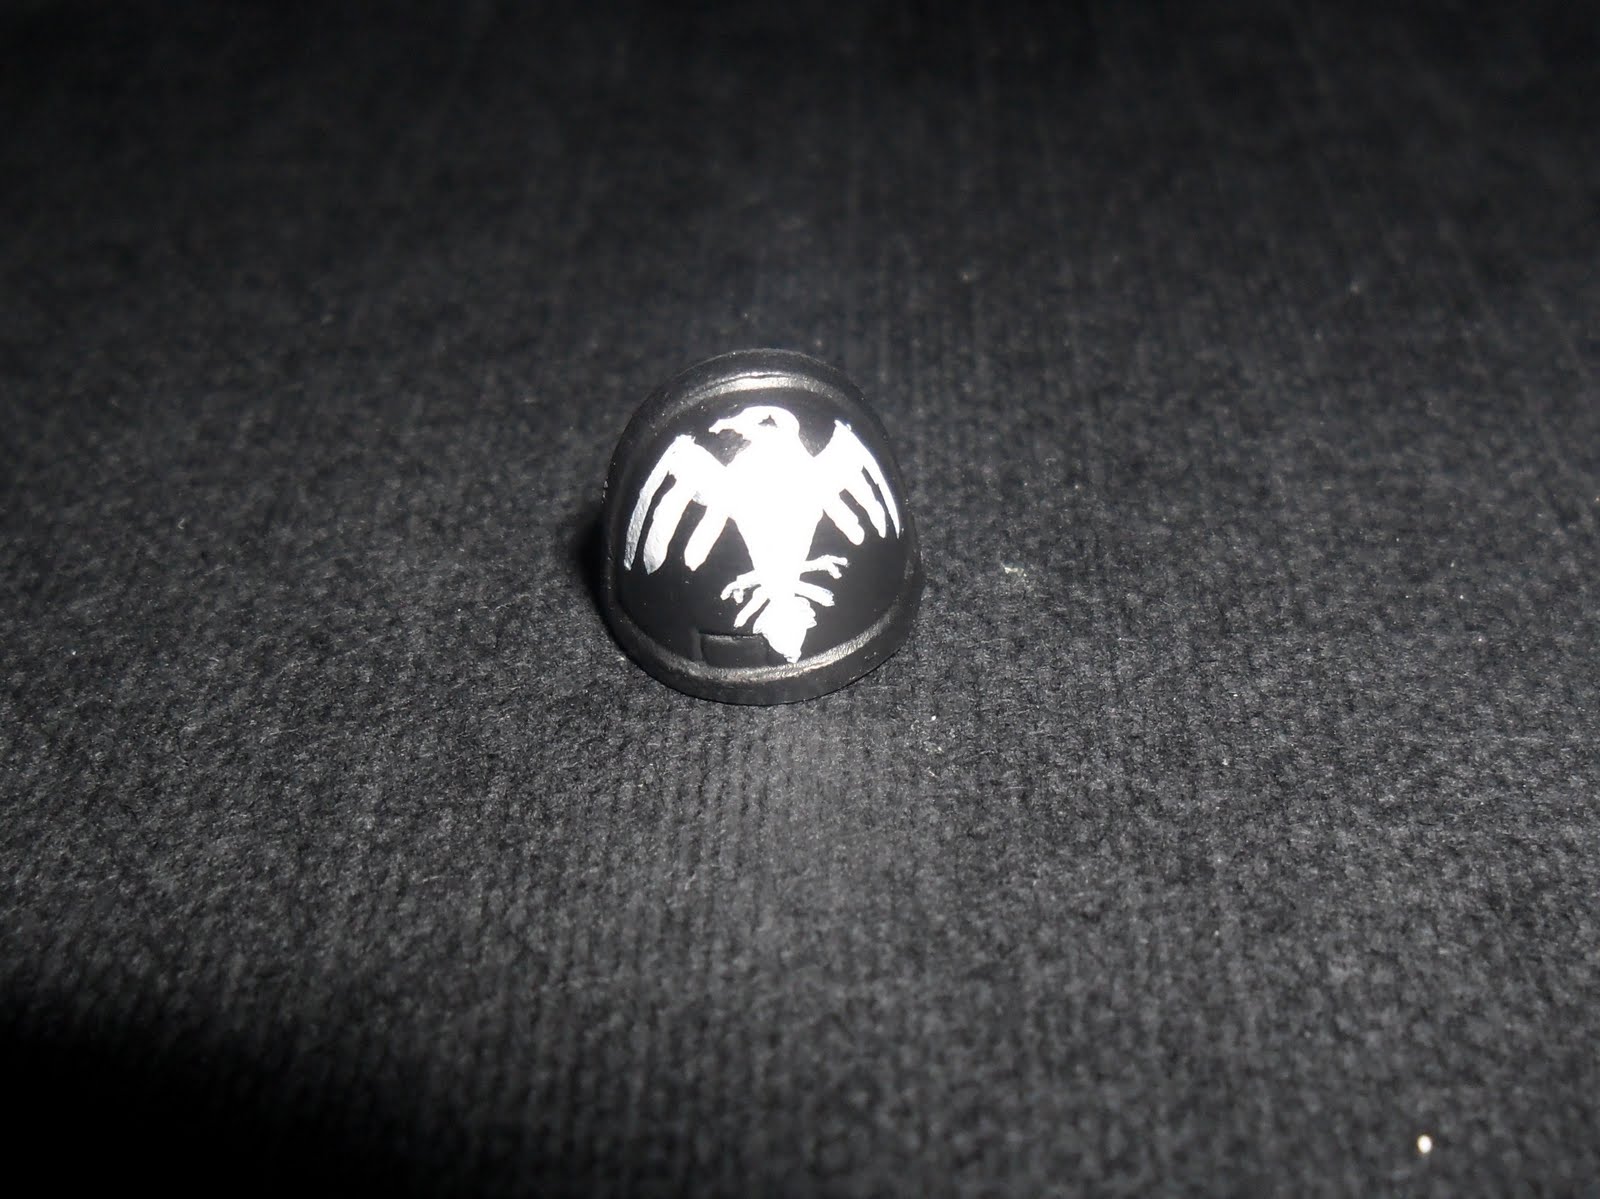
Raven Guard Chapter Symbol Tutorial.

A friend of mine has started Raven Guard, we have a new Raven Guard in our Deathwatch group so I felt inclined to come back to my own. I also figured to assist the friend of mine, who I'm also doing a commission version of "Shadow Captain Shrike", I'd post my free hand method of painting the Raven Guard chapter
symbol.


Ron over at FTW posted this a while ago, and I like it but I honestly (and humbly) believe mine to be closer to the offical pics of the symbol. 


So here's my attempt in 9 easy stages.

Stage 1: This is a space marine shoulder pad painted black.

Stage 2: Ok a little more complicated, 7 white dots, one two thrids up center, one either side, one about two thirds down center with one either side and finally one bottom center. (All in "Skull White")

Stage 3: Join the top 3 dots with a curved line.

Stage 4: Join the end of your new curve to the corner dots.

Stage 5a: A half mil apart draw two line down shown

Stage 5b: Repeat for the other side

Stage 6: Draw a "V" from the corner of the inner most wing sections to the lower dot

Stage 7; Draw a "V" down wards with two lines half a mil appart for the tail

Stage 8: Another "V" to make the tail a diamond, then fill in the tail and body. I also like to thicken the top win section to blend it into the body better.

 Stage 9: The head is tricky and will just take a little practifce to get the right shape. Sorry. A small triangle will look just fine though.
Hope its helpful.

Tuesday, 31 May 2011

Cloth - Help


Right I have typed up part 2 of 3 of my "Anatomy of a Raven" post series and it will be up in the next few days.

However I have recieved a request for a tutorial on cloth, specifically and conveniently for me standard plain linen style cloth for a banner, which is exactly the sort of thing the robes my Dark Angels Deathwatch character is wearing.

There are many ways to paint fabric, the easiest for what we're trying to do is
1) Basecoat "Skull White"


2) Wash "Devlan Mud"


3) Drybrush *Bleached Bone"


4) Drybrush "Skull White"


This is not the method I'll be using, the basics are the same but there's a little more to it.

Paints you'll need;
Skull White
Devlan Mud
Graveyard Earth
Kommando Khaki
Bleached Bone

Stage 1) Basecoat "Skull White"


Stage 2) Wash "Devlan Mud" (Heavy wash, you want it in all the cracks in robs like


Stage 3) Paint "Graveyard Earth" leaving the "Devlan" shading.
this and the top wrinkles of a banner)


Stage 4) Highlight "Kommando Khaki" along prominent edges leaving the darker colours in the recesses


Stage 5) Highligh "Bleached Bone" along extreme edges, with a light dry brush over flat areas, ensuring its slightly over watered down to prevent chalky effect


Stage 6) Drybrush (and I mean DRY) "Skull White" over the entire robe, and edge highlight extreme corners and points with watered down "Skull White"

Thats the basic cloth done.

There will be more of my Deathwatch creations soon, once the anatomy course is over.

Any further information just comment, Todays comment secretary; Miss Vanessa Hudgens (AKA Blondie)

Friday, 27 May 2011

Anatomy of a Raven; Part 1


Right back on track we have the first part of my planned article series on just how i paint my Ravens.

Pictures for the next part will be on plain black as will all future pics (Thanks to
A.D. for the feedback) So here goes.


Stage One: A fully cleaned and undercoated space marine (arms are blue tacked on)


Stage Two: Removal of arms and a quick touch up on the under coat with a brush


Stage Three: The whole model receives a base coat of 'Deathwatch Black' again for those who've not kept up this is just a 50:50 mix of 'Codex Grey' and 'Chaos Black'


Stage Four: Metallic details are picked out in two thinned down layers of chain mail


Stage Five: 'Skull White' is painted on to the chest details


Stage Six: 'Merchite Red' is added to the eyes and shoulder rim, Metallic and White areas are washed with 'Badab Black' and and slips are painted over


Stage Seven: Several thin layers of white are added to the top of the jumppack for this squads markins


Stage Eight: The right shoulder pad has its freehand detail added, and the model is glued together, ready for 'hard edging'


We'll leave it there for now, I'll up load the next part soon, then we'll have a lovely tutorial on free handing a Raven symbol.

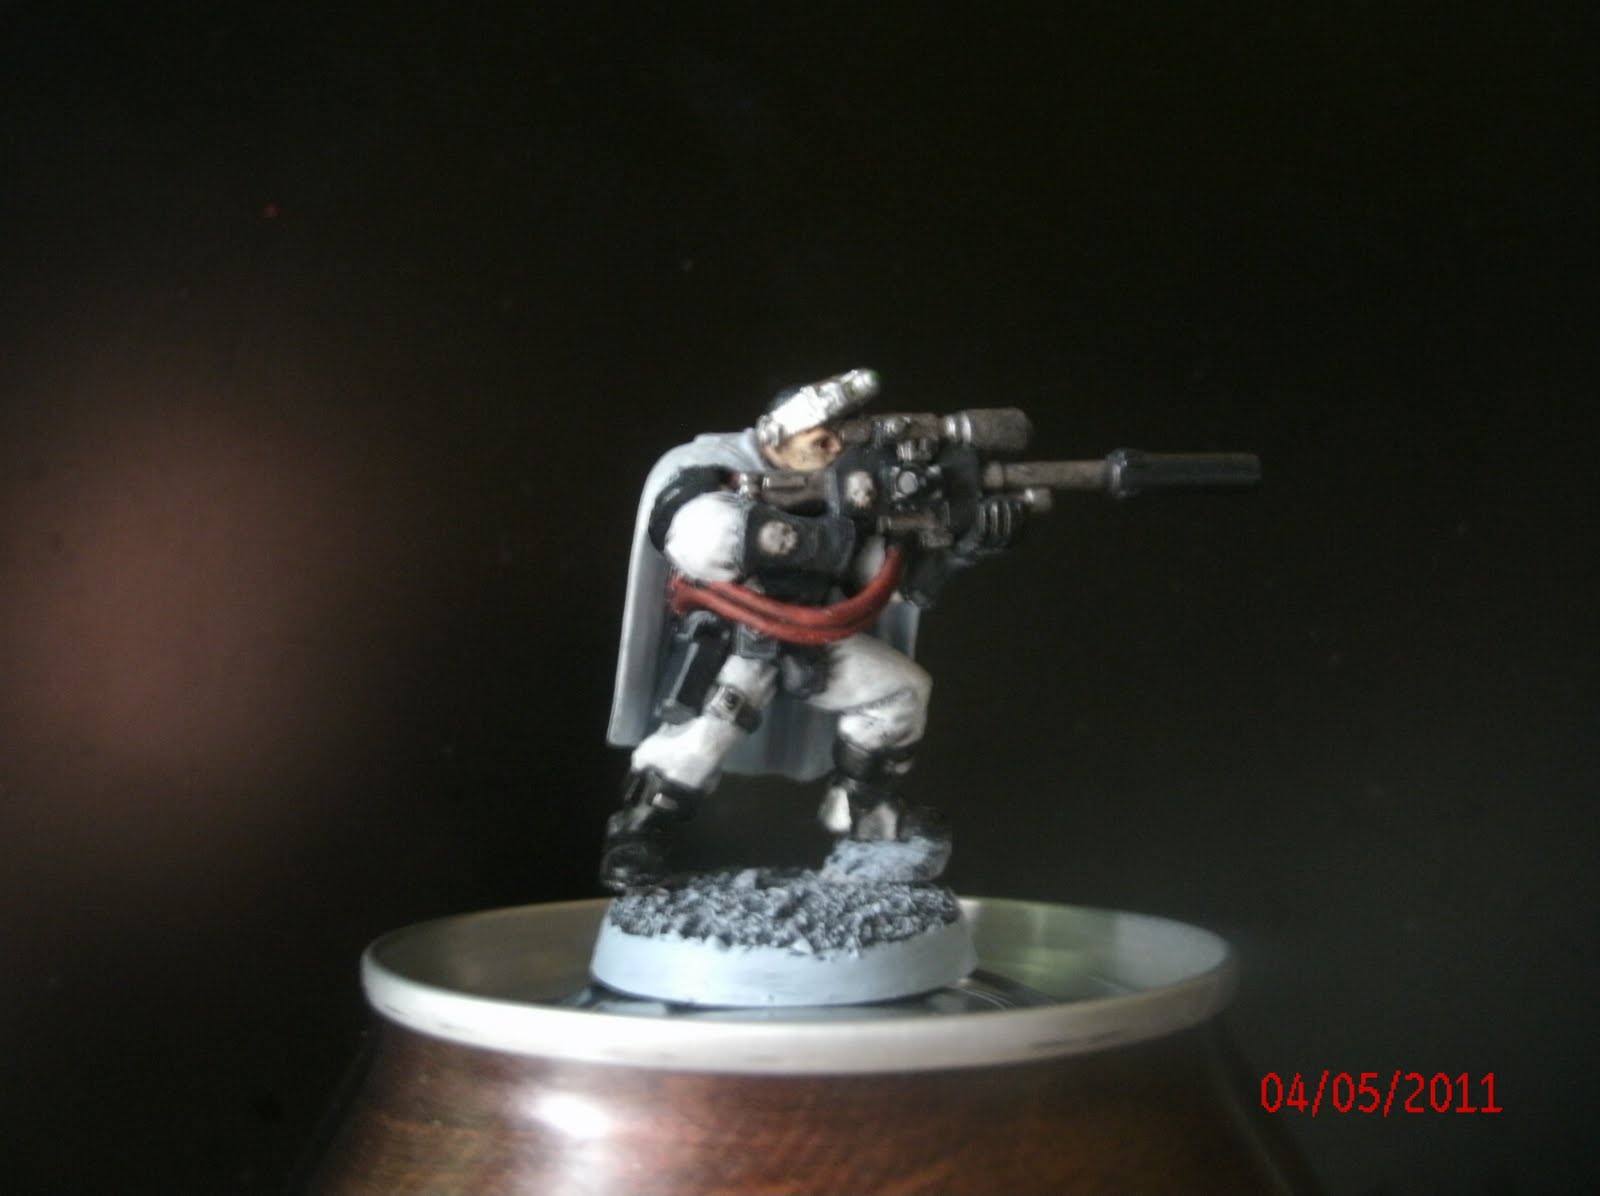
Before I go I have an update especially for Gmort. I've reworked the sniper bolter of my shadow captain, here is the new result.


Comment, cri.... oh you know the drill

Questions and comments today are read by a lovely young lady called Raven

Wednesday, 11 May 2011

"This Week I Have Been Mostly Painting... Banners"

(That's a Cracking reference if I say so myself)

Ok sticking to my schedule, here is my Wednesday; "stuff I've painted update". As the title should tell you, banners have been my focus.

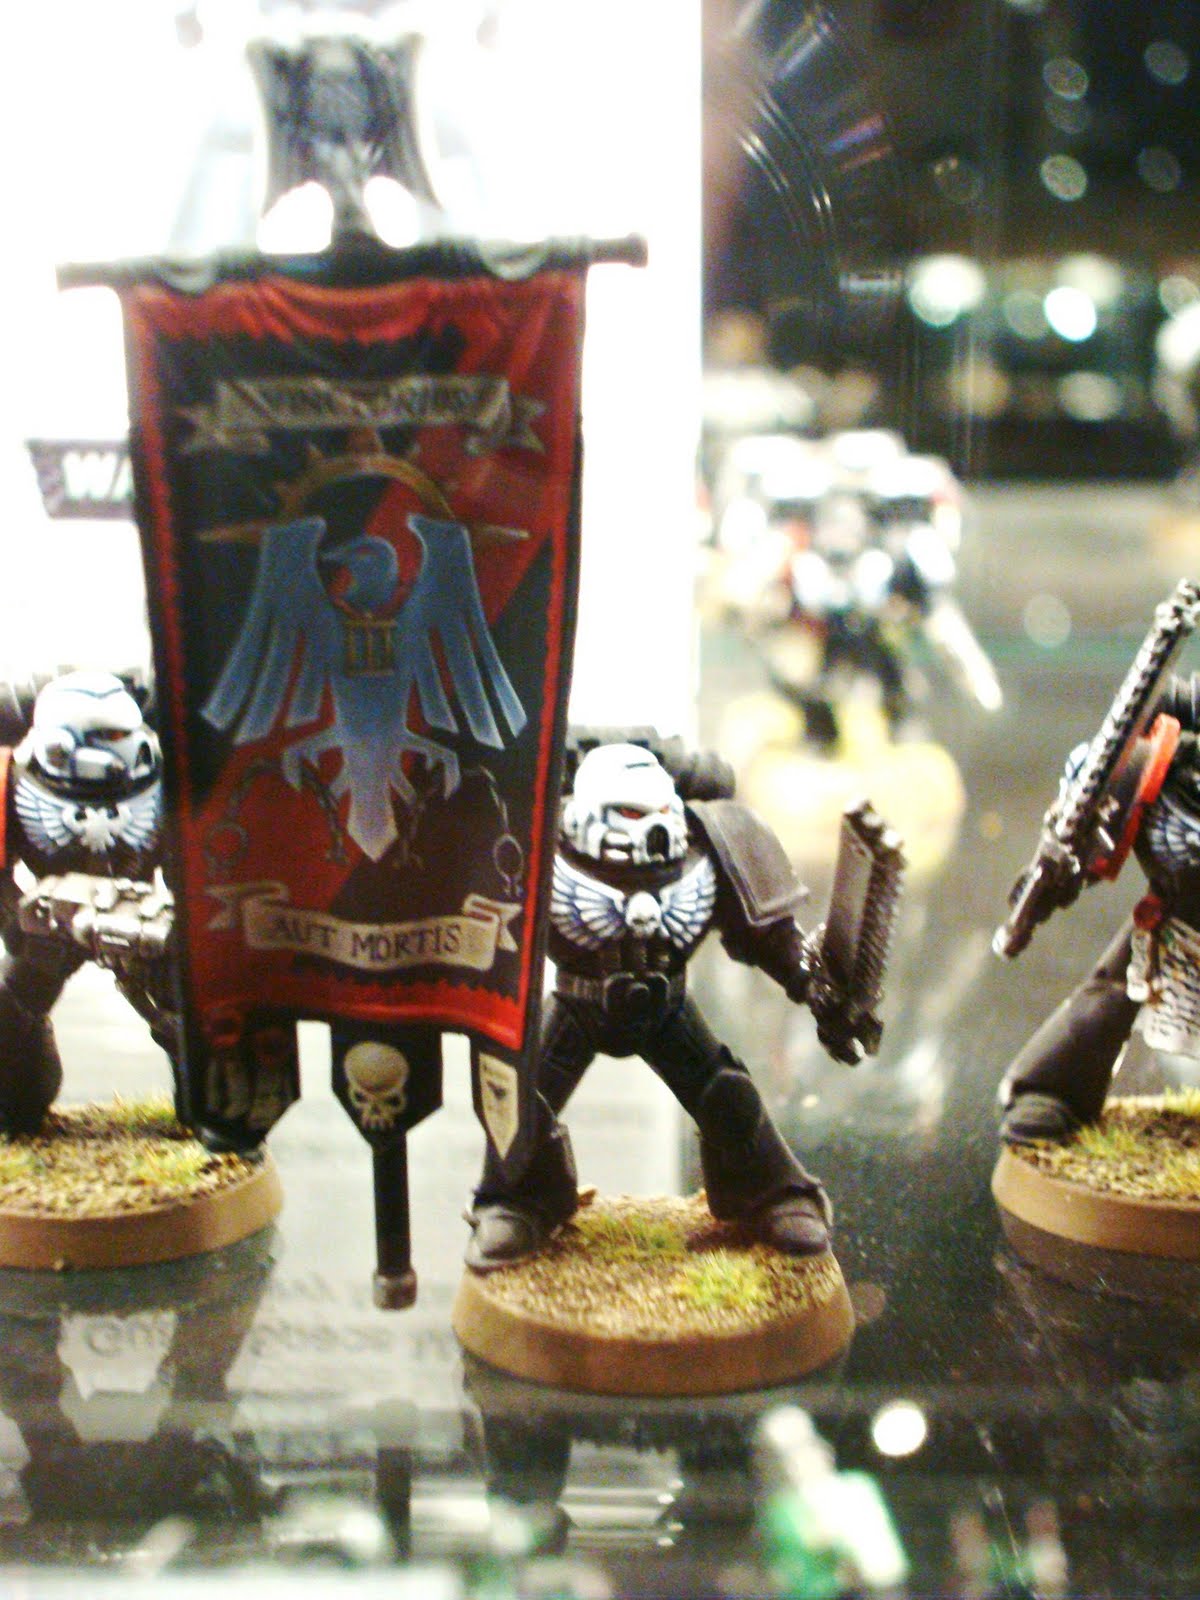
My 8th company banner has been mostly done for a while, its based on the 'Eavy Metal teams Raven Guard banner in war hammer world


OK so its pretty easy to tell which is mine but I'm pretty proud of it still.

This week I have started work on my tenth company banner. Less free hand has gone in to it atm, mainly transfers that I'm going to paint over, but its still looking good IMO.


Stage One: Undercoat


Stage Two: Codex Grey, on the center of the banner


Stage Three: Watered down Skull White


Stage Four: Watered Down Skull White


Stage Five: Extreme highlights, Skull White and edges tidied up with "Deathwatch Black", a paint of my own mix (1:1 chaos black and codex grey)


Stages after... transfers


And finally a preview of the on going scout work, that will probably be next weeks post.


Scout pics, taken in front of a plasma, on a can. I would like some feedback as to if people prefer this plain background to areas of my room/ body for pics, where possible.

As always comments and crits are welcome, this week they are being read by miss Monica Bellucci.


Citizen

Wednesday, 4 May 2011

Tutorial- Raven White


Right as promised a quick guide to the helms of my raven guard. Also applied to shoulder pads and other areas where needed. (I apologise for some of the pictures quality my camera hates small details)

Stage One: Plain Resin Head, washed


Stage Two: Undercoat, black


Stage Three: Basecoat Codex Grey (I would use astronomican but codex gives a nicer shade)


Stage Four: Watered down coat of Skull white, leaving edges and shade areas codex grey


Stage Five: Second coat of watered down white


Stage Six: Third coat of watered down white (nearly there) This coat is almost a glaze just to smooth over the rough areas.


Hope it was useful especially for those others commencing an army of the XIX legion

Rachel Weisz, another of my fantasy ladies


Citizen